What Are Microgreens and Why Should You Grow Them?
Microgreens are young, tender greens harvested shortly after sprouting. These miniature vegetables and herbs pack a powerful nutritional punch, containing up to 40% more nutrients than their fully-grown counterparts. Growing microgreens at home allows you to enjoy fresh, flavorful greens year-round while saving money compared to store-bought options.
The Benefits of Self-Watering Microgreens Kits
Self-watering microgreens kits have revolutionized indoor gardening, making it easier than ever to grow nutrient-dense greens at home. These innovative systems offer several advantages:
Consistent moisture: The self-watering design ensures your microgreens receive the perfect amount of water, reducing the risk of over or under-watering.
Low maintenance: Most kits only require watering once a week, ideal for busy individuals or those new to gardening.
Space-efficient: Compact designs allow for easy cultivation in small spaces, from apartments to office desks.
Reusable components: Many kits feature durable, long-lasting materials that can be used for multiple growing cycles.
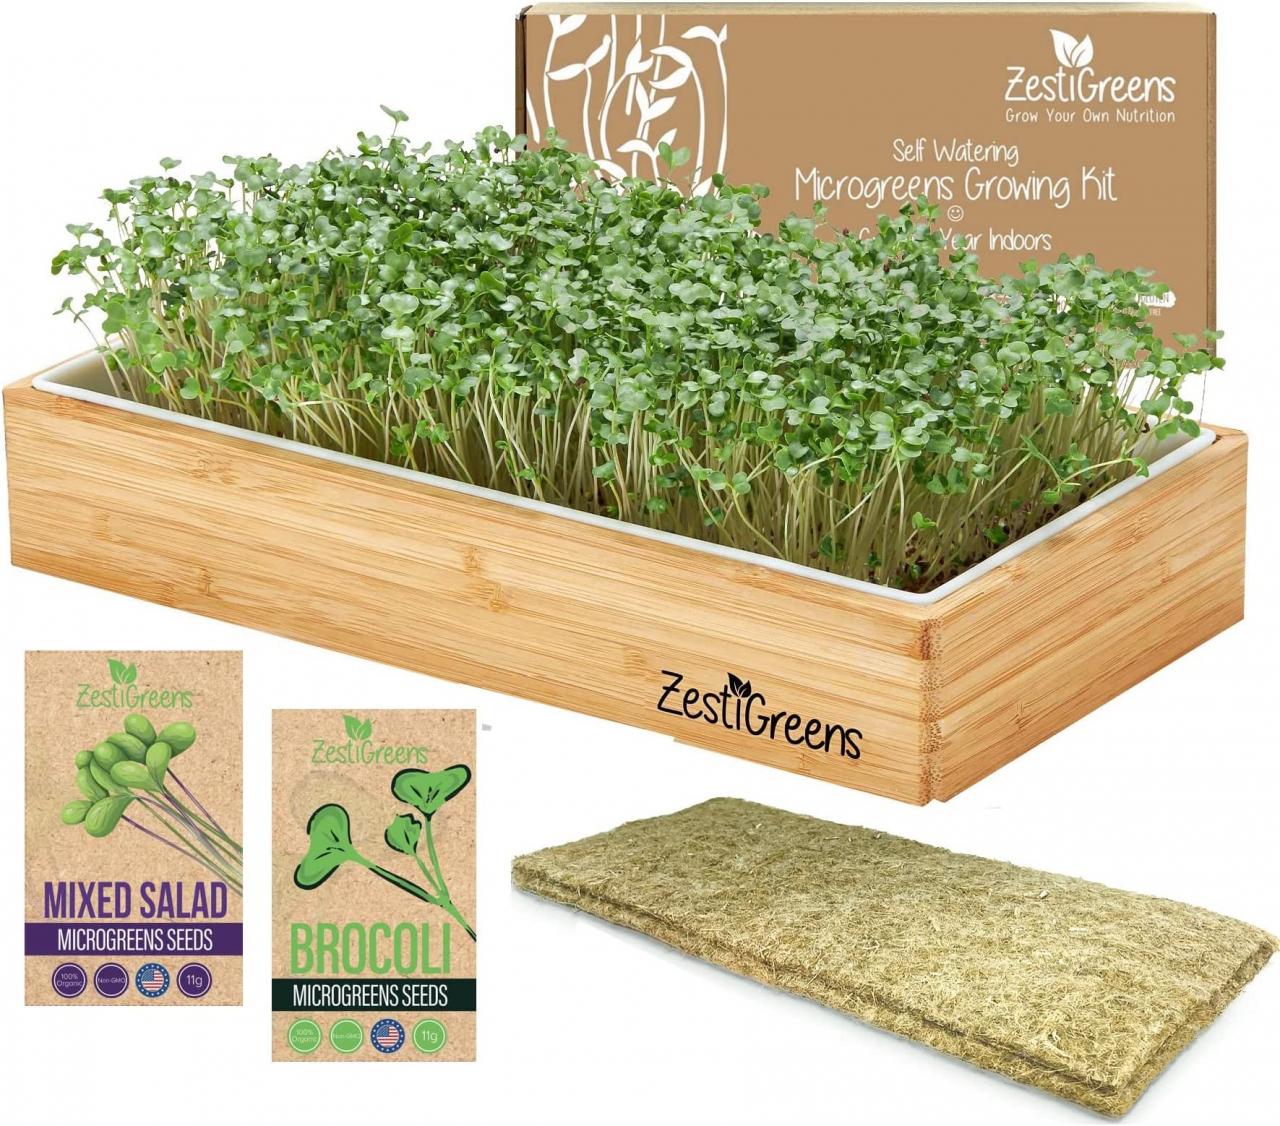
Key Components of a Self-Watering Microgreens Kit
A comprehensive self-watering microgreens kit typically includes:
Self-watering tray or planter: The foundation of the system, designed to provide consistent moisture to your growing microgreens.
Growing medium: Either soil-based or hydroponic options are available, depending on your preference.
Seed selection: A variety of microgreen seeds, often including nutrient-rich options like broccoli, kale, and arugula.
Growing mats: These provide a suitable surface for seed germination and root development.
Instructions: Clear, step-by-step guides to ensure successful growth, even for beginners.
Some kits may also include additional features like bamboo surrounds for aesthetic appeal or mist sprayers for initial seed moistening.
Choosing the Right Self-Watering Microgreens Kit
When selecting a self-watering microgreens kit, consider the following factors:
Size: Ensure the kit fits your available space and meets your production needs.
Material: Look for durable, food-safe materials that will last through multiple growing cycles.
Seed variety: Choose kits that offer a diverse selection of microgreen seeds to explore different flavors and nutritional profiles.
Growing medium: Decide between soil-based and hydroponic systems based on your preferences and experience level.
Ease of use: Opt for kits with clear instructions and simple setup processes, especially if you’re new to microgreens cultivation.
Setting Up Your Self-Watering Microgreens Kit
Follow these general steps to set up your self-watering microgreens kit:
Prepare the growing medium: If using soil, moisten it slightly before adding to the tray. For hydroponic systems, follow the kit’s instructions for preparing the growing mats.
Fill the water reservoir: Add water to the designated area of your self-watering tray or planter.
Sow the seeds: Sprinkle your chosen microgreen seeds evenly across the growing surface.
Cover and place in a suitable location: Many microgreens prefer darkness for germination, so cover the tray if recommended. Place in a warm area away from direct sunlight.
Monitor and maintain: Check your microgreens daily, ensuring proper moisture levels and removing the cover once sprouts appear.
Caring for Your Growing Microgreens
To ensure a successful harvest of nutrient-rich microgreens:
Light: Once sprouted, provide your microgreens with adequate light, either from a sunny window or grow lights.
Water: The self-watering system should handle most of the watering needs, but monitor the reservoir and refill as necessary.
Temperature: Most microgreens thrive in temperatures between 60-70°F (15-21°C).
Air circulation: Ensure proper ventilation to prevent mold growth and strengthen stems.
Harvesting and Enjoying Your Microgreens
Harvest your microgreens when they reach 1-3 inches tall, typically 7-14 days after planting. Use clean scissors to cut the stems just above the soil line. Rinse gently and enjoy immediately for the best flavor and nutritional benefits.
Incorporate your homegrown microgreens into various dishes:
Salad toppings
Sandwich and wrap fillings
Garnishes for soups and main courses
Smoothie boosters
Pesto and sauce ingredients
Maximizing Your Self-Watering Microgreens Kit
To get the most out of your kit:
Experiment with different seed varieties to find your favorites.
Stagger plantings for a continuous harvest of fresh microgreens.
Clean and sanitize your kit between growing cycles to prevent disease.
Save seeds from mature plants to use in future plantings.
Explore creative ways to incorporate microgreens into your daily meals.
By following these guidelines and utilizing a self-watering microgreens kit, you can easily grow nutrient-dense, flavorful greens right in your own home. Not only will you enjoy the freshest possible microgreens, but you’ll also have the satisfaction of cultivating your own food with minimal effort and maximum results.